Chairlift Swing Project
Finding a Chair
I always wanted to find a retired chairlift chair to turn into a garden swing. Ideally an old, colourful, 2-person chair, but these are difficult to find. After casually looking for several years, it so happened that in 2018, Blackcomb mountain was replacing the Wizard and Solar Coaster Express quad chairlifts. Although these are modern looking galvanized steel chairs, there were many available for a small donation to the Whistler Blackcomb Foundation. Here is my last ride on the Wizard and Solar Coaster chairlifts at the end of the 2018 season.
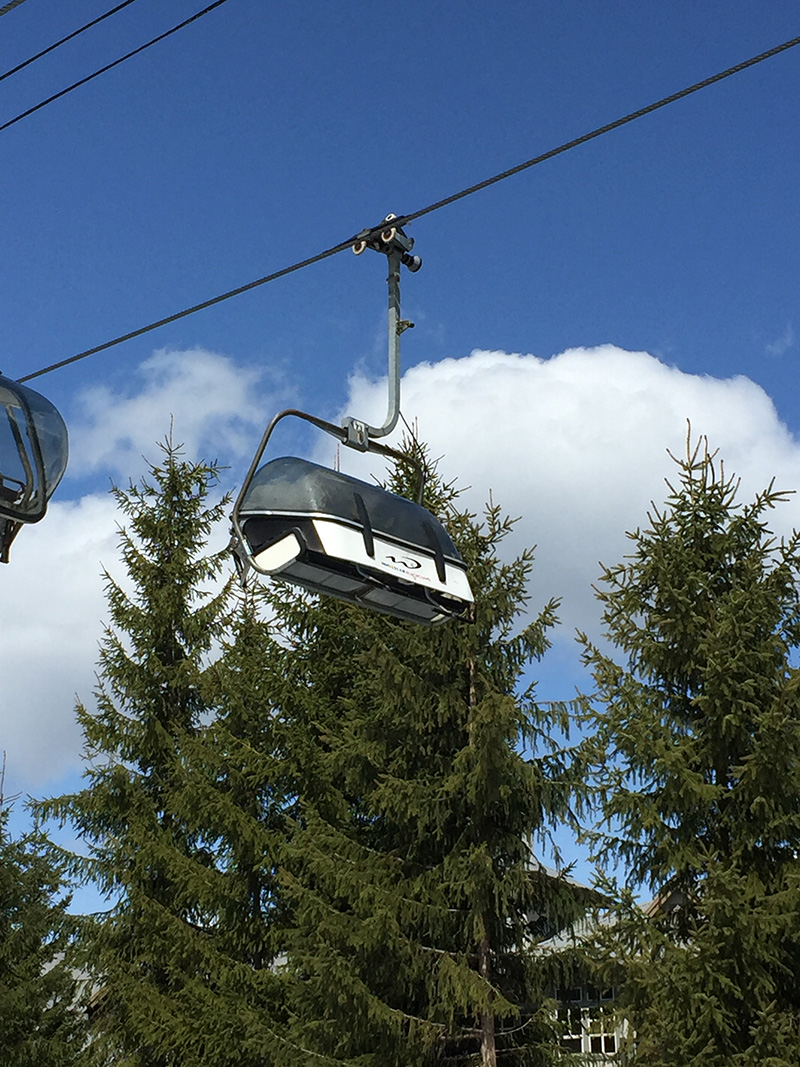
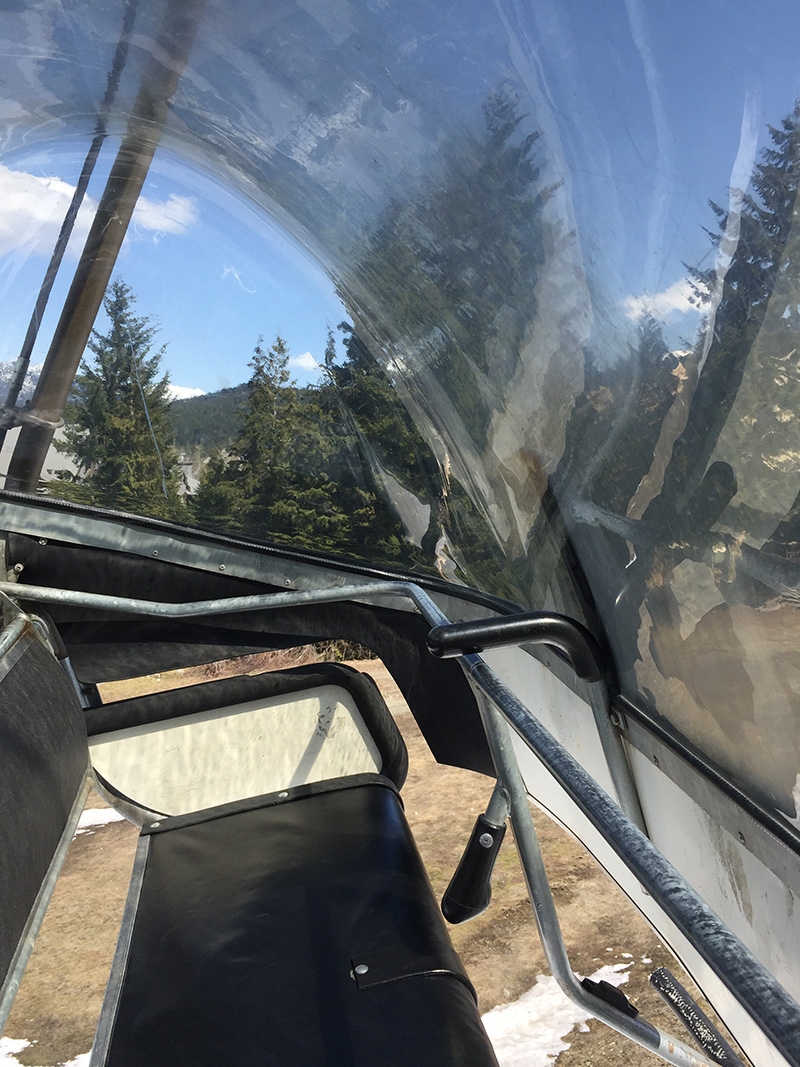
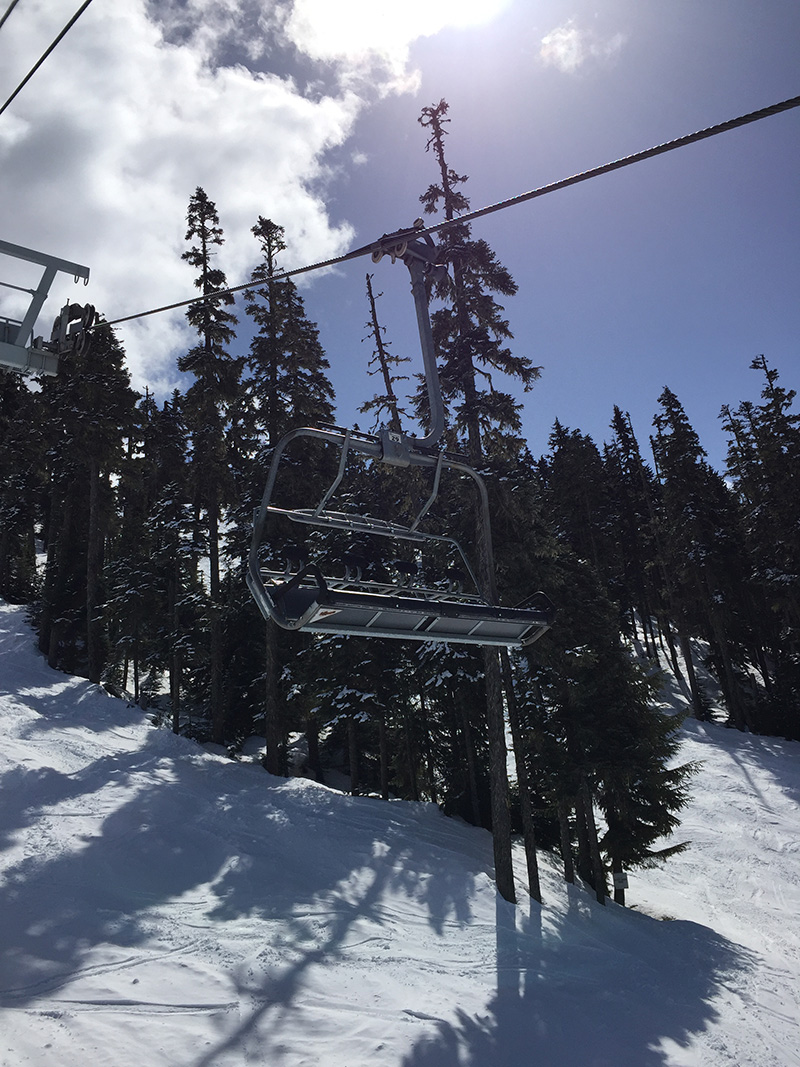
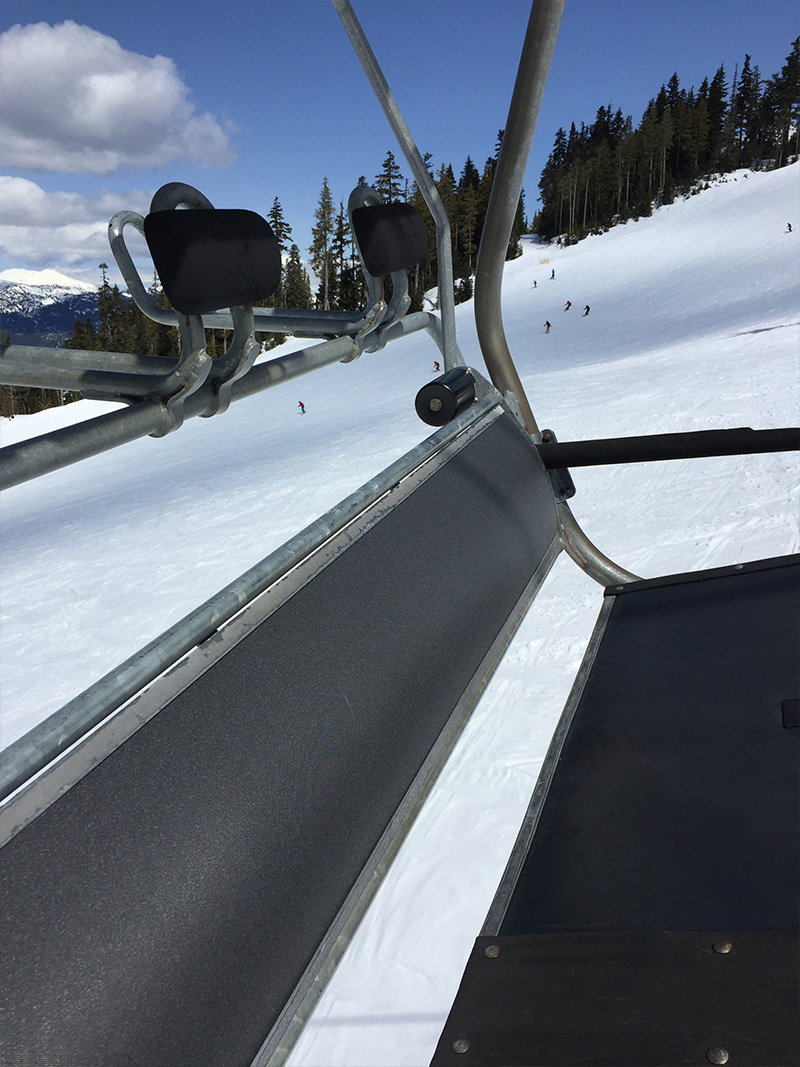
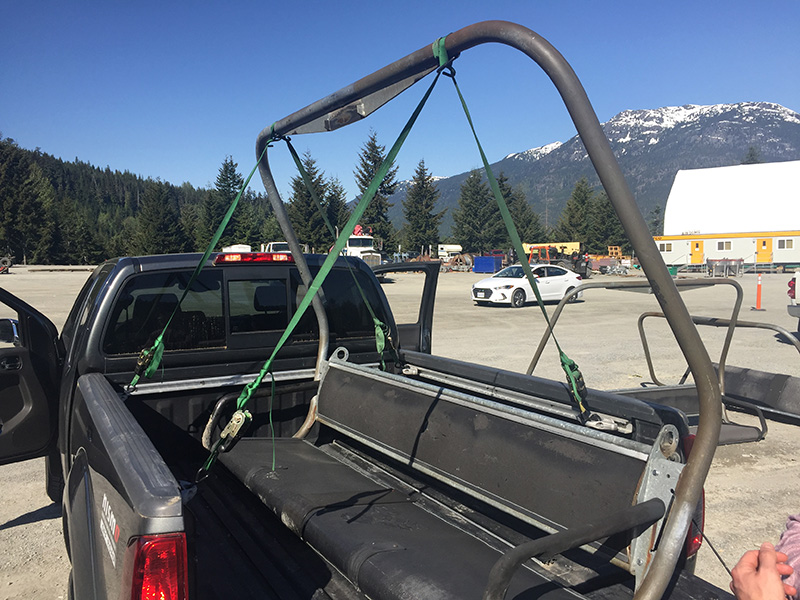
A month later, I arranged to pick up the specimen. I posted on the university Facebook group and gave a few other students a free ride to Whistler for the low payment of helping me load the chair. After a day of spring skiing in truly Summer conditions, the chair was loaded en route to its new home.
Building the Frame
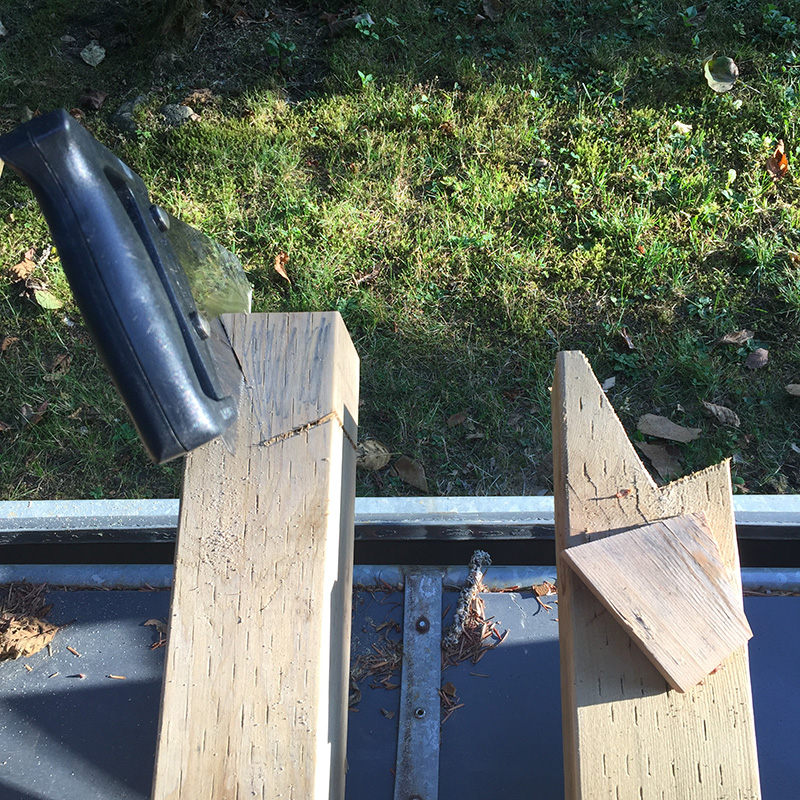
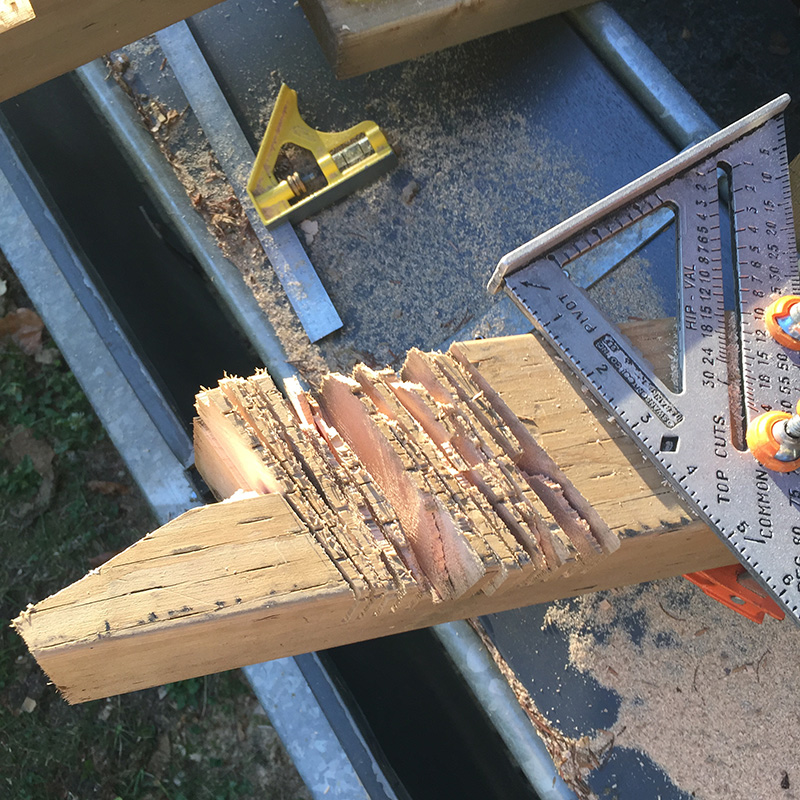
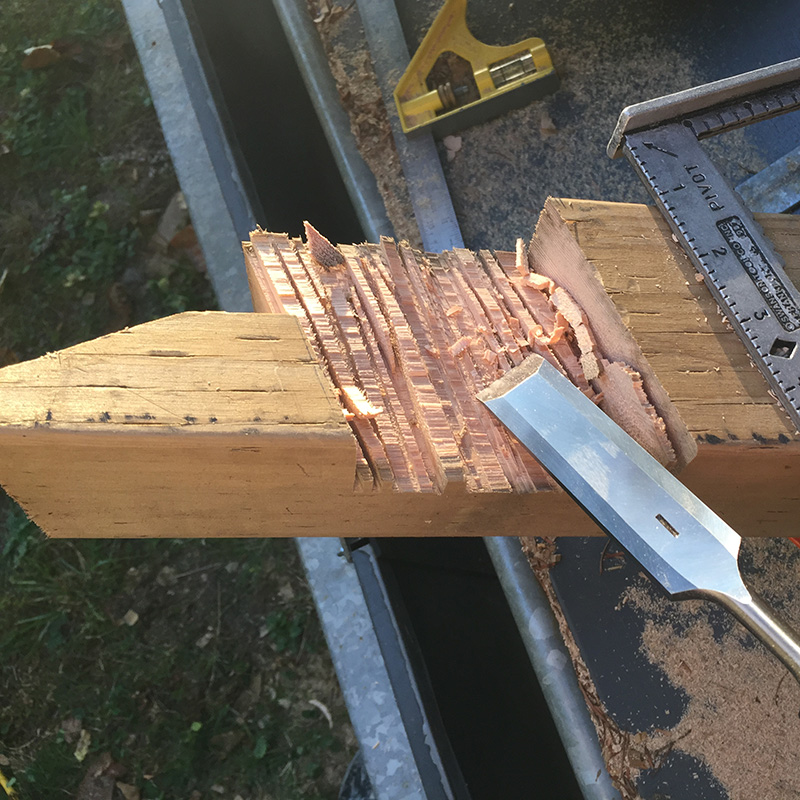
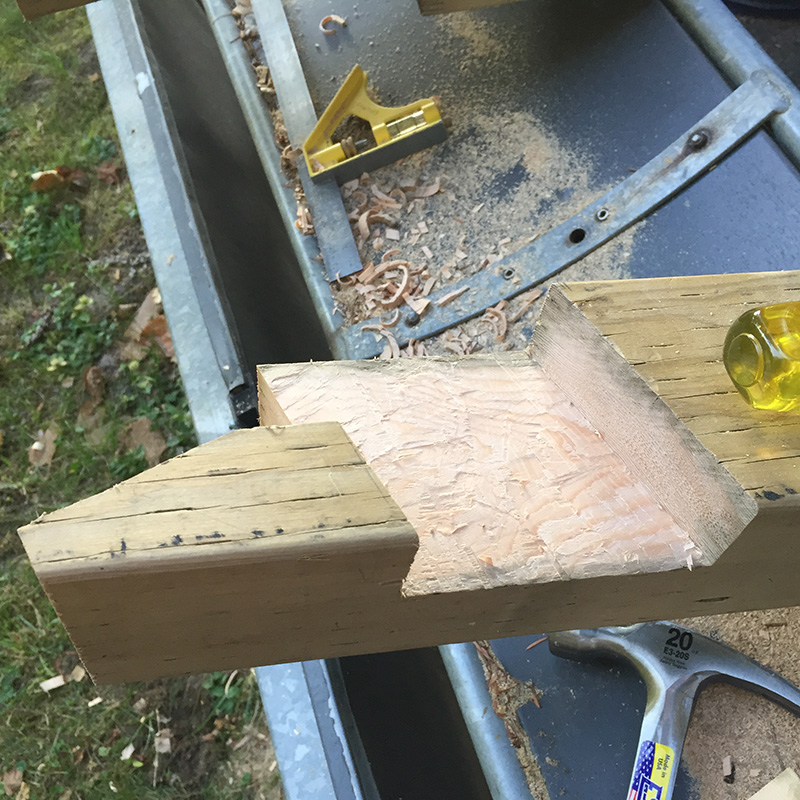
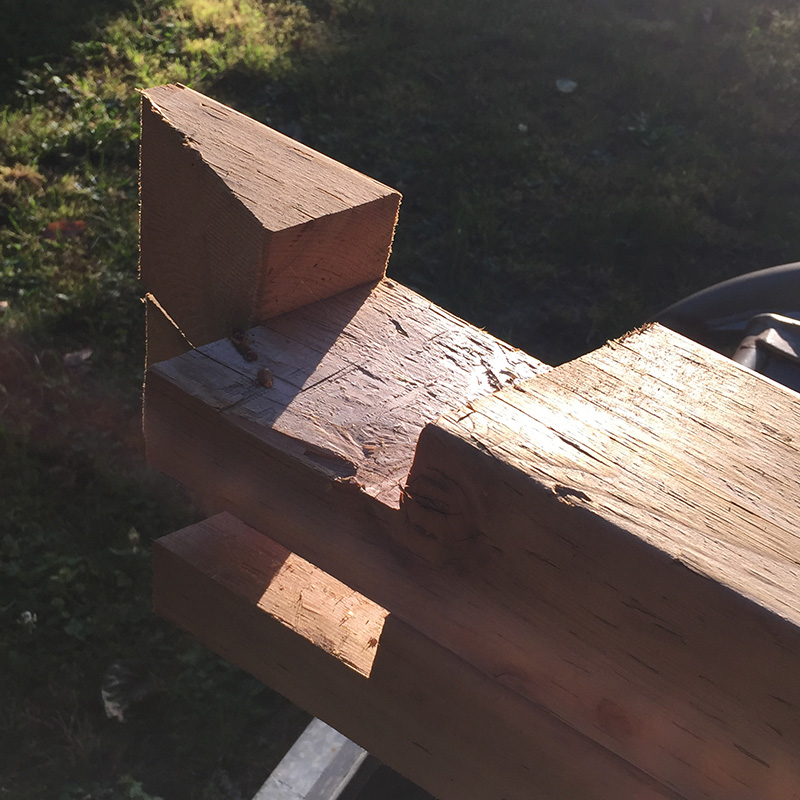
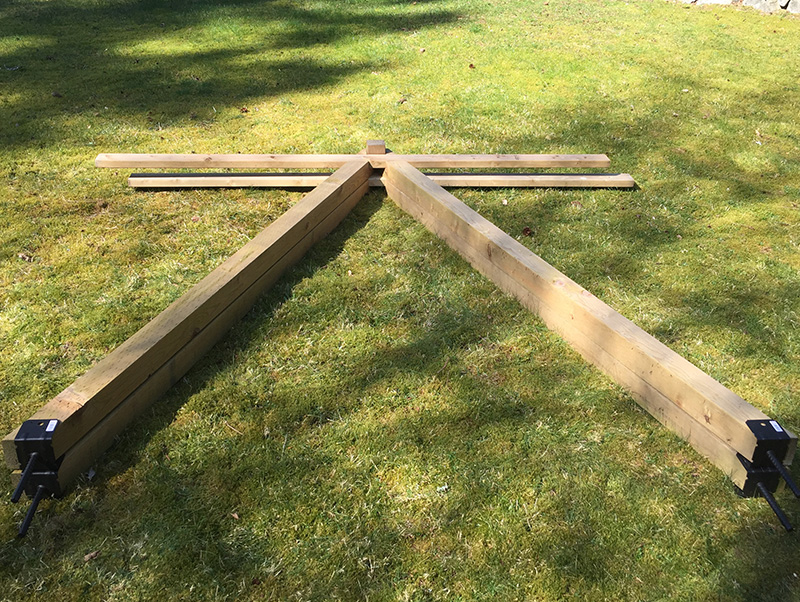
The frame was build from 4x4 pressure treated lumber. I first cut a relief to cradle the beam that will span between the A-frames and support the chair. Then, I notched the A-frame supports so that two 2x4 cross-pieces could be inserted. This was done by the usual process of cutting many half-depth kerfs out with the circular saw then hammering them away and cleaning it with a chisel. This was done again about half way down to hold the second cross-beam.
Setting the Supports
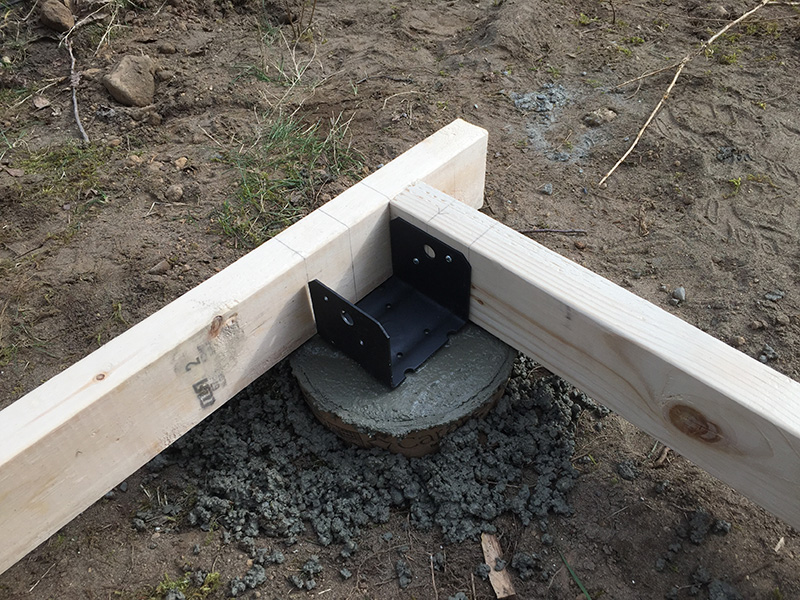
The fun work of digging holes for the four concrete footings that would support the frame then began. Four holes approximately 2.5 feet deep and large enough to fit a 10” concrete forming tube were dug by hand. I used some rope to mark where the tubes should be positioned. The frame was to be bolted into concrete anchors which are set into the footings with a J-bolt.
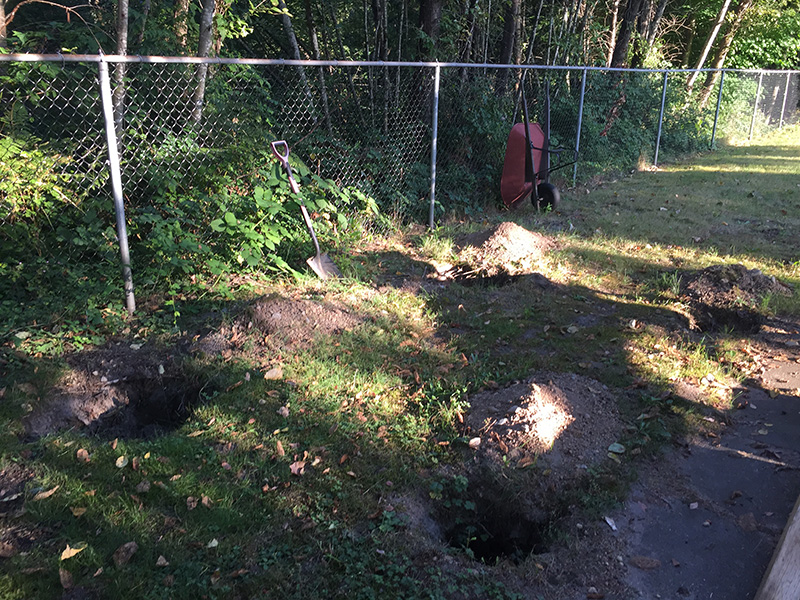
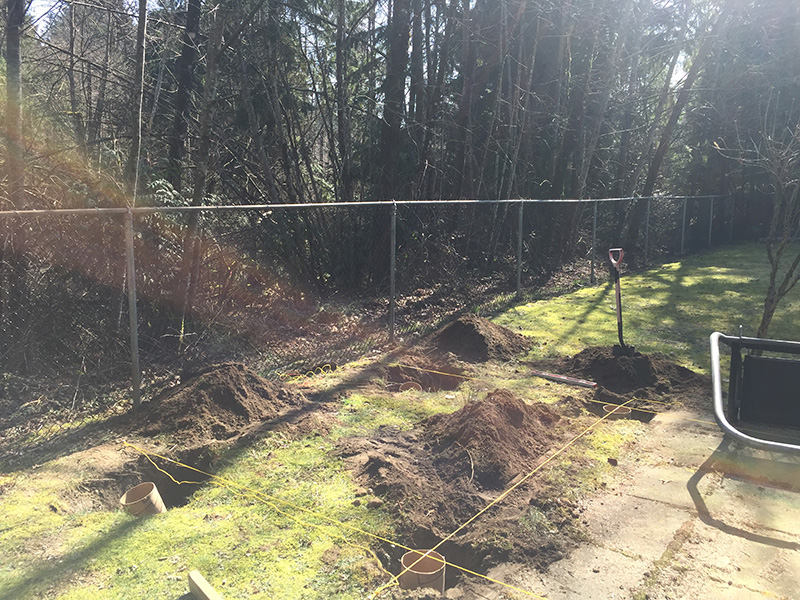
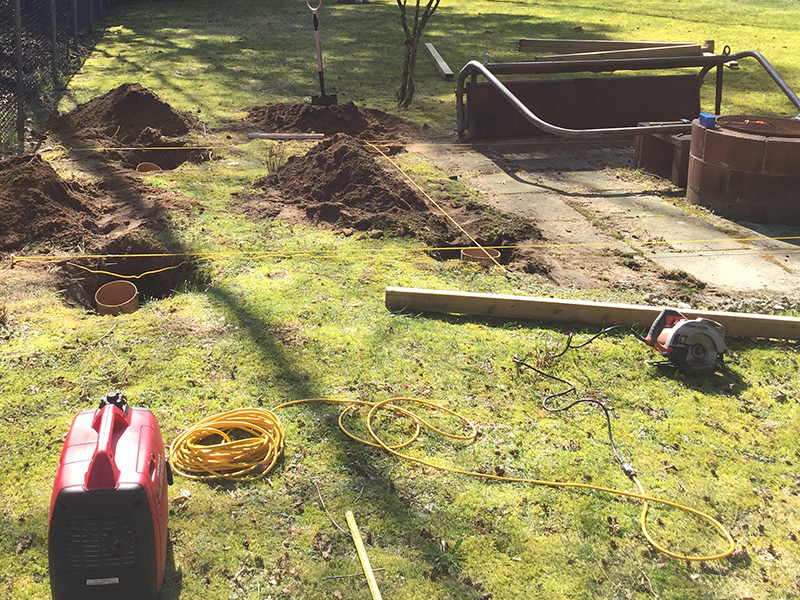
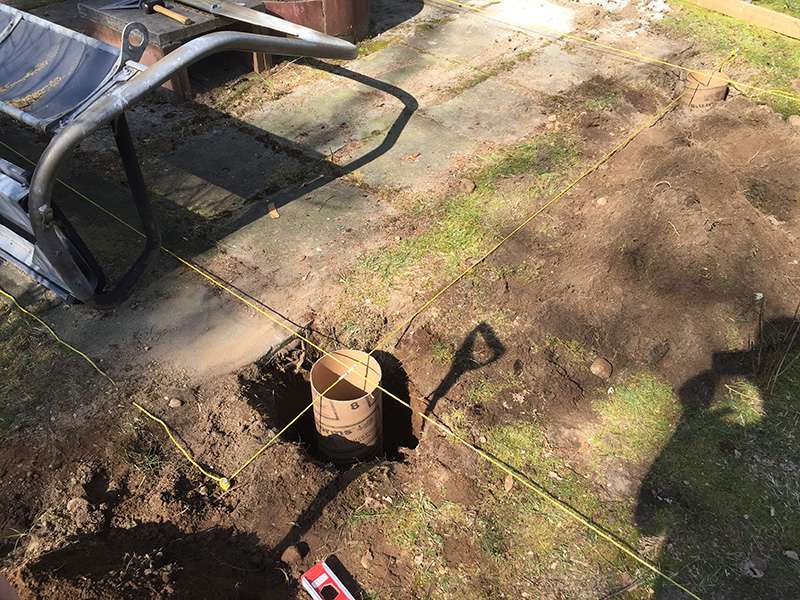
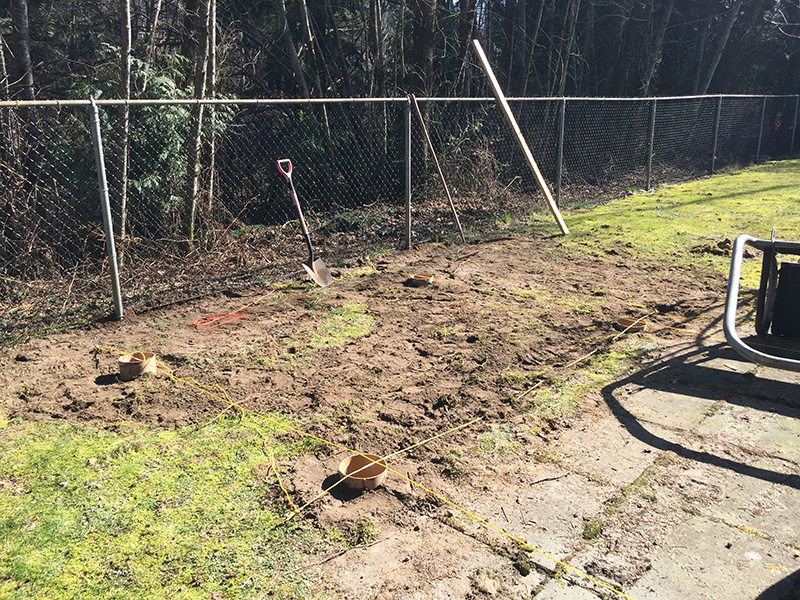
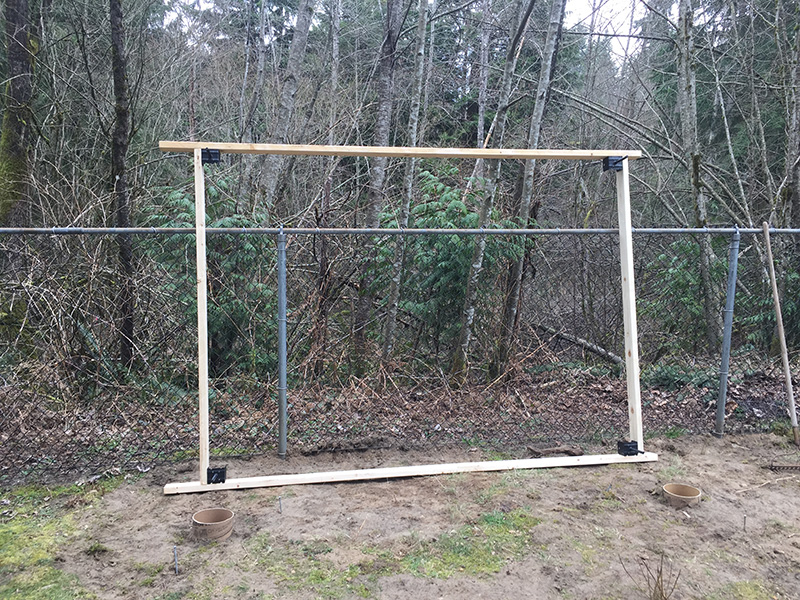
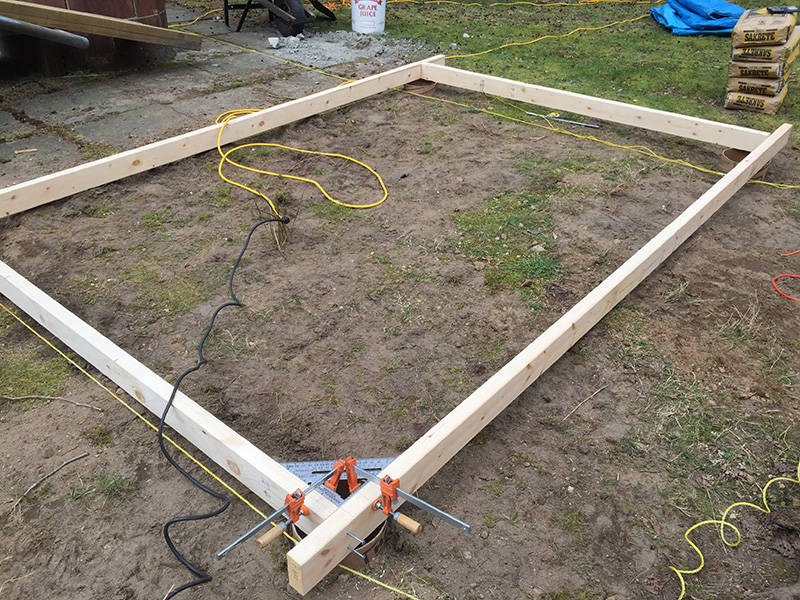
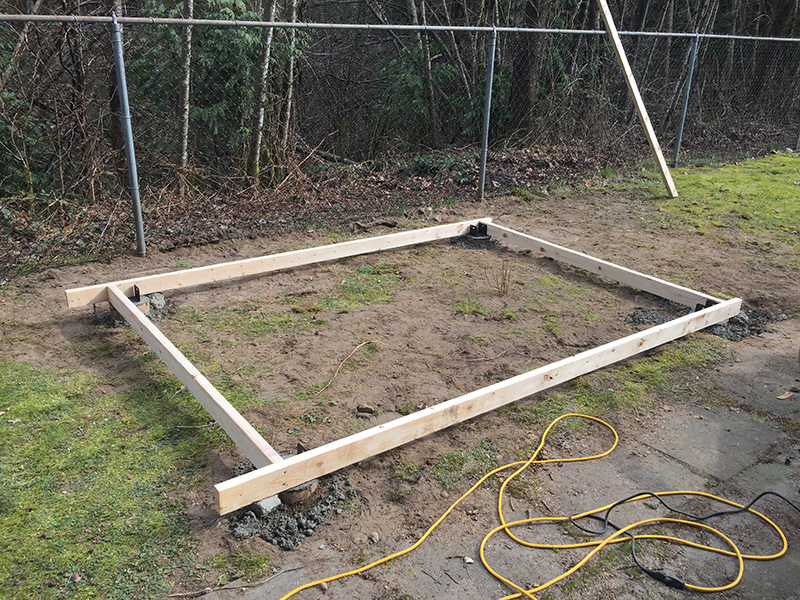
Once the forming tubes were placed and backfilled, I assembled a temporary brace out of scrap wood to hold the four concrete post anchors aligned and at the right distance. Then, I mixed and poured the concrete and got a helper to assist lowering the template on top. For my first real project with setting concrete footings, it went quite smoothly.
Final Assembly
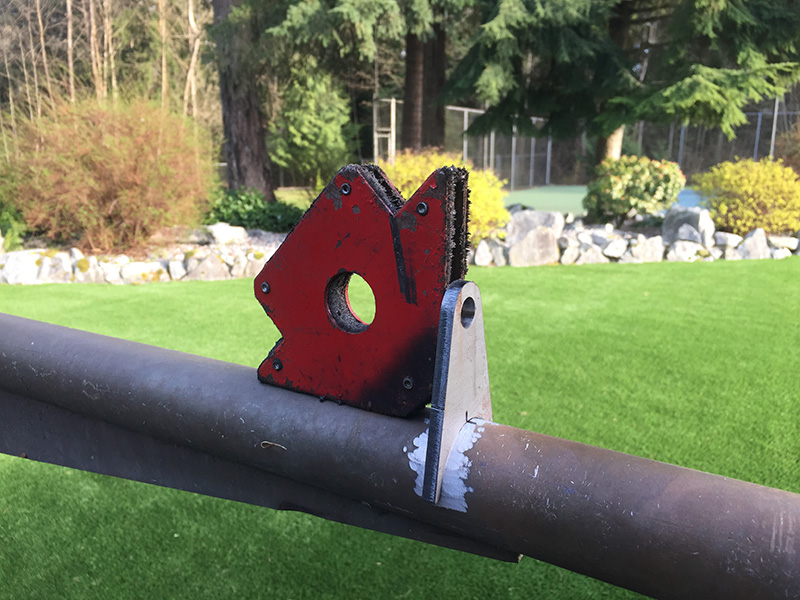
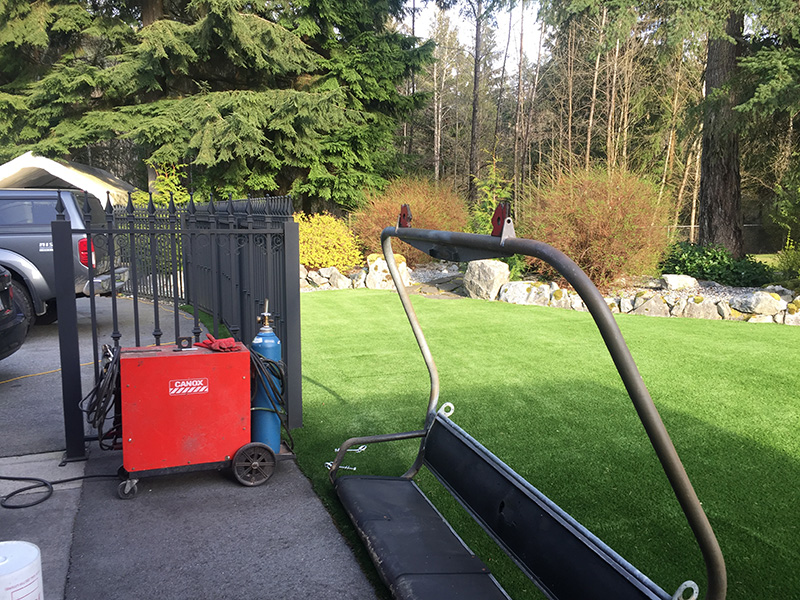
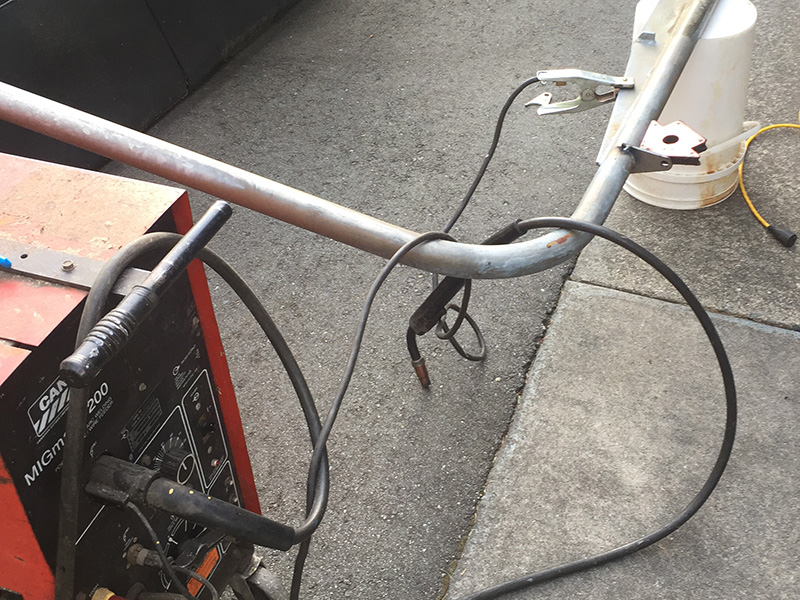
As procured, the chair did not come with the original mounting arm or any type of brace from which it could be suspended. However, the top tube of the chairlift is made from 2” diameter tubing. It was quite easy to find “weld-on tube shackle” mounts that are offered on Ebay for custom off-road bumpers. These were inexpensive and came perfectly waterjet cut from 1/4” steel plate. I ground away the galvanizing and welded them in place (use respiratory protection when welding galvanized metals). Finished with a spray of cold galvanizing coating, which hopefully will prevent rust, and seems to have held up well now, several years later. Weld close-up photos are withheld because I am still quite a novice!
The frame beams were assembled with 1/2” threaded rod and copious amounts of PL500 construction adhesive. I used two rachet straps to raise the chair into position and connect it with two quick links to eye bolts in the top beam. A couple of beer cupholders were added in the middle of the chair and all was complete! If I did this again, I noticed that there is quite a bit of flexing in the lateral direction, as the concrete anchors don’t provide much support this way. Fortunately, the structure is not really ever loaded in this direction, but it might be worth trying a different type of anchor, or potentially adding a 2x4 beam spanning between the A-frames on the back side.

